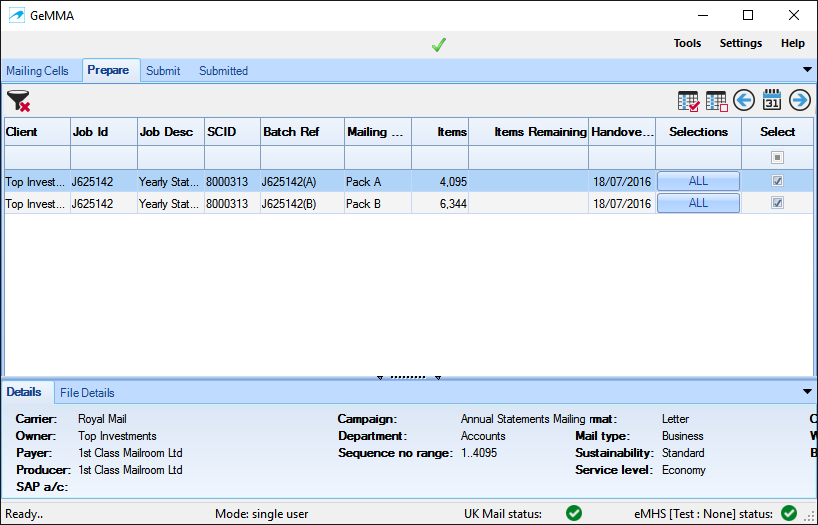
The Prepare tab displays the two Mailing Cells progressed from the Mailing Cells tab:-
On the Prepare tab you can set a Handover Date and make Selections.
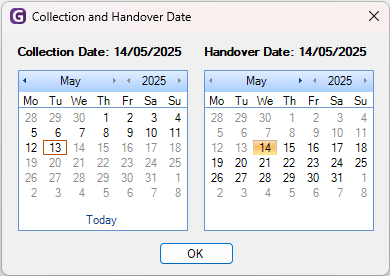
Handover Date
The Handover Date is automatically set depending on your Control Settings which can be overridden in two ways:-
Individually per Mailing Cell by clicking on the date within the Handover Date column.
2. On mass by checking Mailing Cells in the Select column and using the Handover Date Control. ?? link??
Selections
By default the Selections are set to ALL items in a manifest. Selections can be changed by clicking the Selections button for each Mailing Cell:-
The Batch Inclusion window is then displayed showing a Start and End sequence number. These values can adjusted and in addition multiple Start and End sequence ranges can be added. In the below example, the first 2,000 items have been selected from the original 4,095 items:-
When Save is clicked the selections are set and you are returned to the Prepare tab.
Item Selections has been expanded to allow selections to be made by Bag Number rather than Sequence of Items:-
This feature is only available with GeMMA Manifests created by the PostalSort engine version 3.5.0 due for release in February 2016.
Note that the Mailing Cell information has be changed and also the text colour to reflect that selections have been made:-
As selections (Inclusions) have been made; 2,095 items are now remaining on the Mailing Cells tab, again the text colour has been changed to highlight that this Mailing Cell has previously had selections applied to it:-
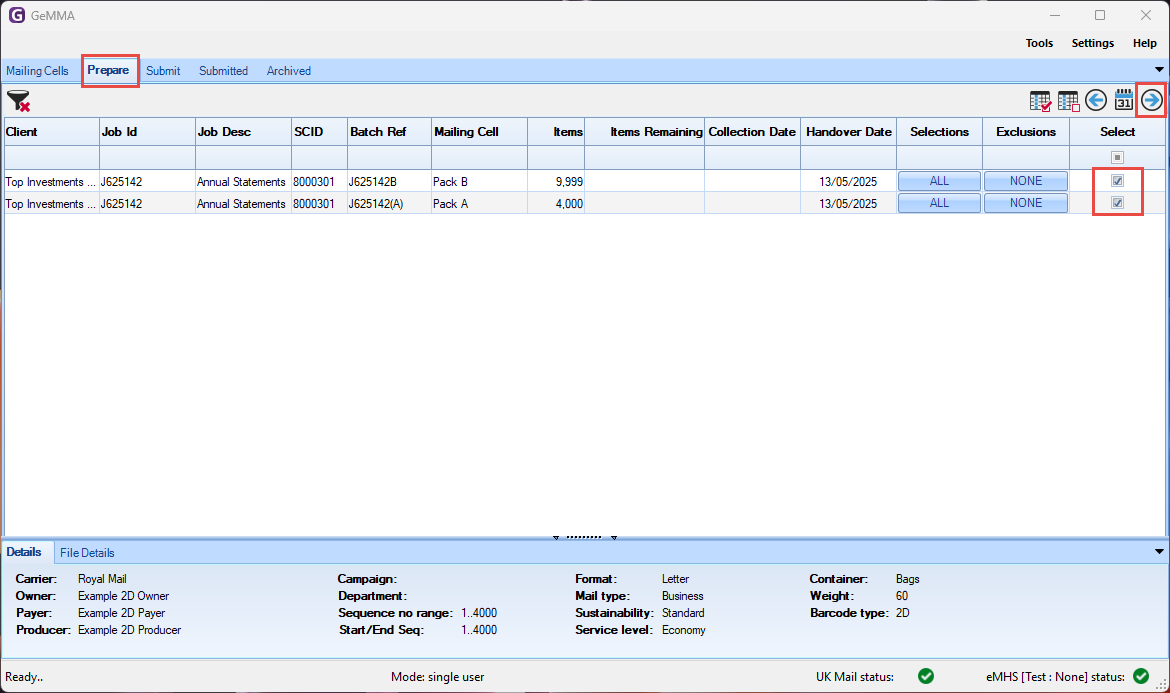
Now that the Mailing Cells have been prepared use the Select column checkbox to select Mailing Cells to progress to the Submit tab in association with the Prepare Controls.
To progress to the Submit tab use the Move to Submit Control, when pressed the selected Mailing Cells are removed from the Prepare tab onto the Submit tab, the UI will also open the Submit tab.