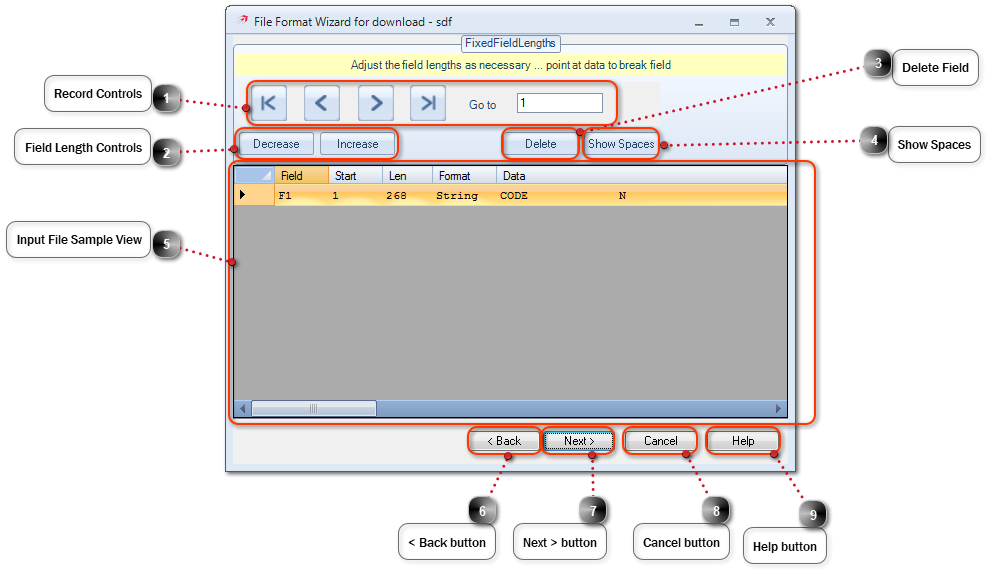
Used to control the record displayed within the Input File Sample View to aid the Field Length process.
Field Length Controls
Used to manually Decrease or Increase the selected fields length.
Delete Field
Select to delete the selected field.
Show Spaces
Select to show spaces as hyphens within the Input File Sample View area to aid the Field Length process.
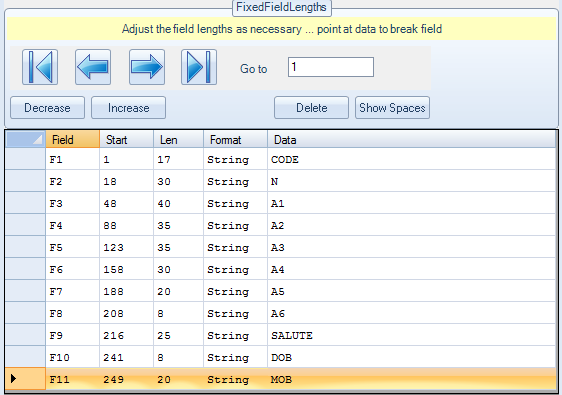
Input File Sample View
Using the Input File Sample View a fields length can be changed using the Field Length Controls and field breaks can be set by clicking within the Data column to automatically set a fields start position, then by clicking the next fields start position the length is then set for the previous field.
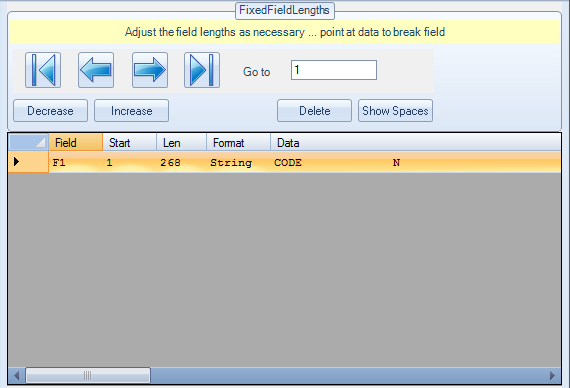
Example: Setting Field Breaks
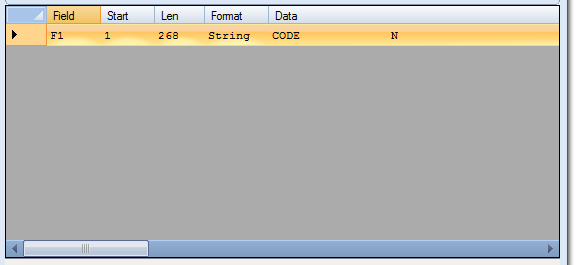
By default each record will be stored into a single field (F1).
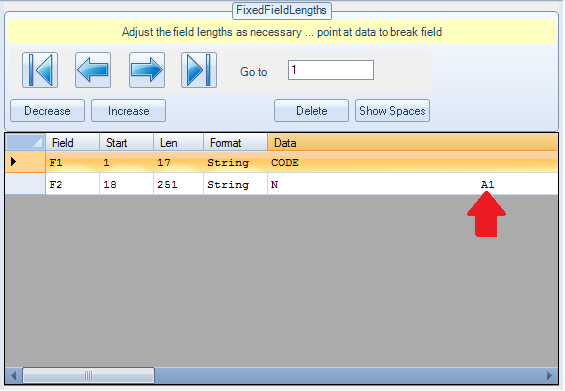
By clicking within the Data column a field break can be set. In the example above we can see that the next field begins at N, by clicking on N the length will be set for the preceding field (F1) then a new field (F2) will be added starting at the position of N.
By clicking on A the length will be set for the preceding field (F2) then a new field (F3) will be added starting at the position of A. Continue this process until all of the fields are created. By default all field names are set to F1, F2, F3 and so on.
Completed Fixed Field Lengths step. The Record Controls should be used to confirm that the fields have been setup correctly.