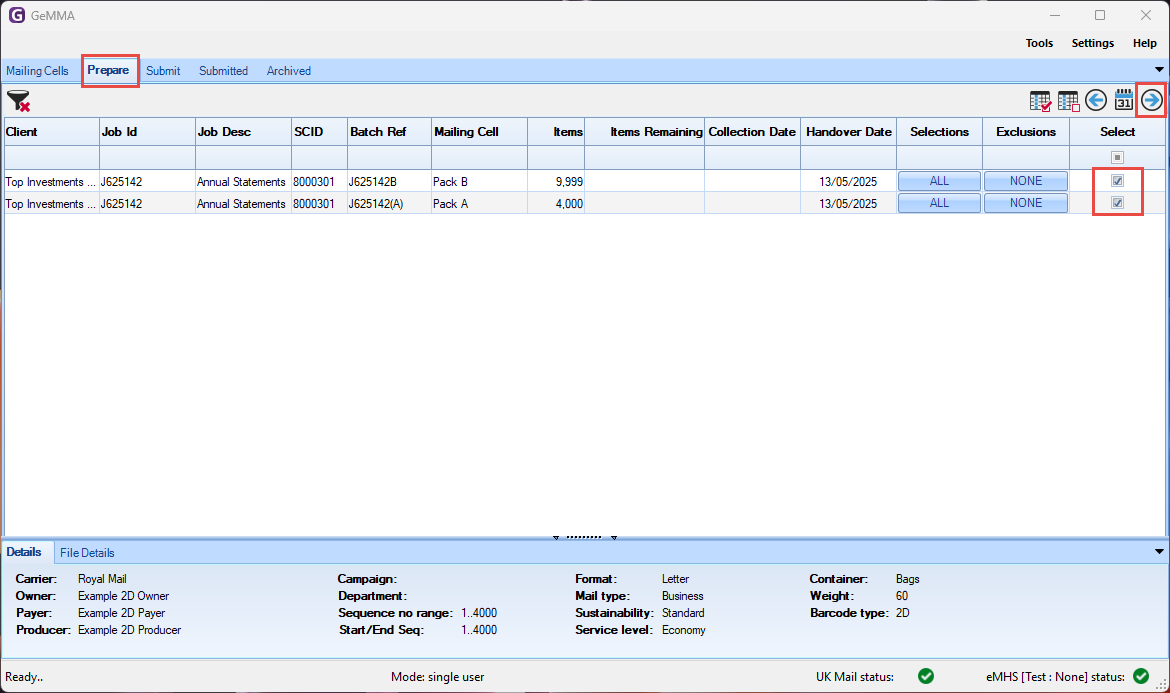
Step 2 - Prepare Mailing Cells
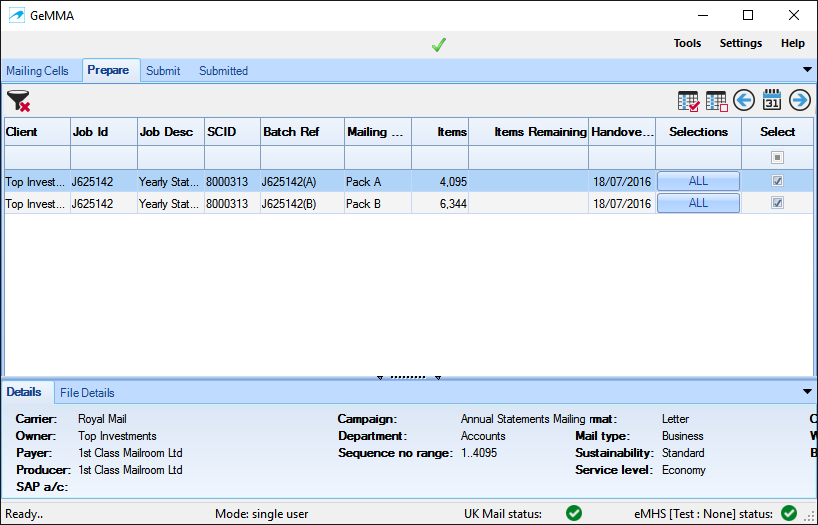
The Prepare tab displays the two Mailing Cells progressed from the Mailing Cells tab:-
On the Prepare tab you can amend the Collection Date, Handover Date, Selections and Exclusions .
Handover Date
The Handover Date is automatically set depending on your Control Settings which can be overridden in two ways:-
-
Individually per Mailing Cell by clicking on the date within the Handover Date column.

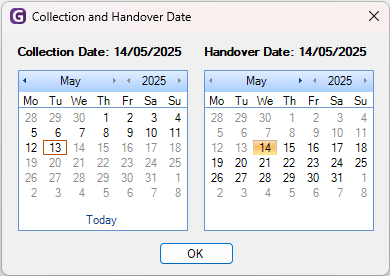
2. On mass by checking Mailing Cells in the Select column and using the Handover and Collection Date Control.

Collection Date
The Collection Date is exclusively used by Whistl and Citipost mailing cells and can be amended to change the Collection Date output to the tnt upload file.
The Collection Date is automatically set depending on your Control Settings which can be overridden in two ways:-
-
Individually per Mailing Cell by clicking on the date within the Collection Date column.

2. On mass by checking Mailing Cells in the Select column and using the Handover and Collection Date Control.
|
|
Collection Date is only applicable for Whistl or Citipost Mailing Cells.
|
Selections
The Selections feature can be used to select items by Item Sequence or Bag Id and is typically used to split a mailing for submission with differing Handover Dates.
Exclusions
The Exclusions feature can be used to exclude items from being submitted and is typically used to exclude spoils or last minute pulls from a mailing.
Now that the Mailing Cells have been prepared, use the Select column checkbox to select Mailing Cells to progress to the Submit tab. Then use the Move to Submit control, when pressed the selected Mailing Cells are removed from the Prepare tab onto the Submit tab, the UI will also open the Submit tab.